Find a wall stud before drilling
15 minutes · Easy · Estimated materials $0–$25
Combine a stud finder with clues from outlets, trim and confirmation at the fastener point.
Likely cause
Electronic stud finders can misread wiring, pipes, dense plaster and changes in wall material.
First safe check
Know what is on the other side of the wall and avoid areas directly above, below or beside plumbing and electrical fixtures.
Tools and materials
Tools
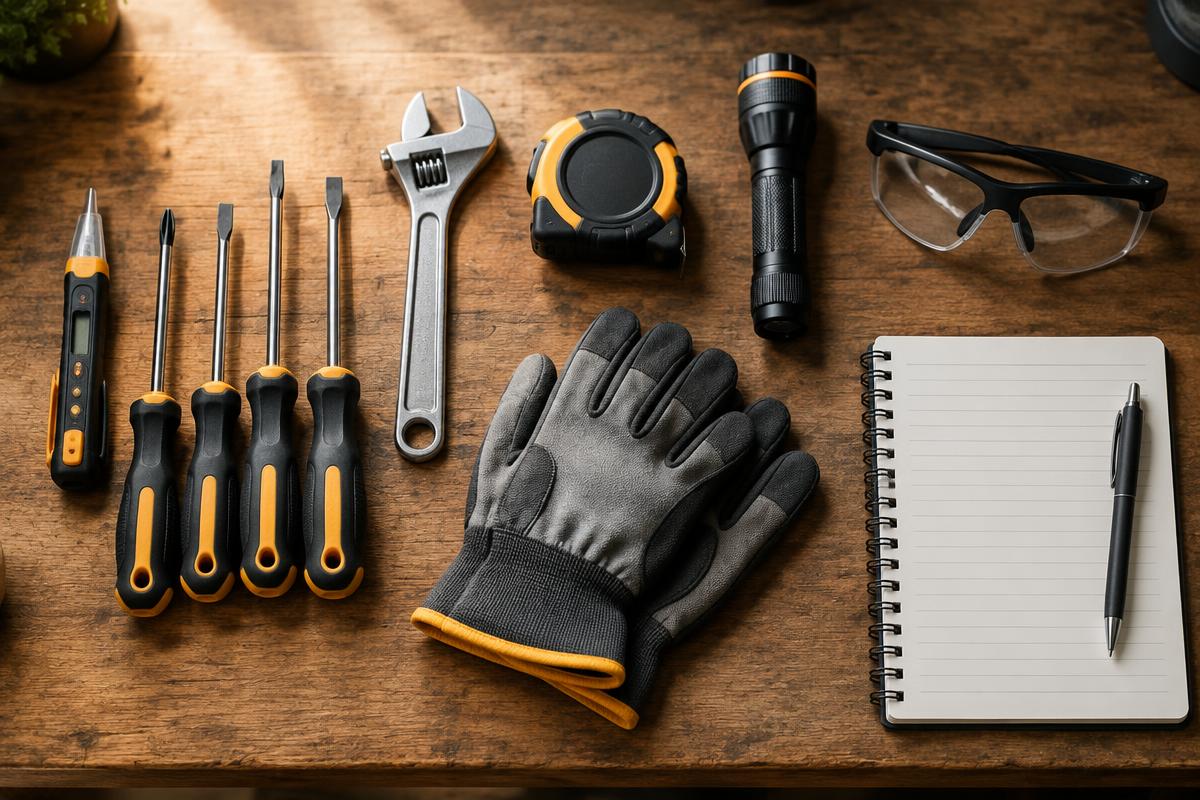
- Stud finder
- Tape measure
- Small finishing nail
Materials
- Painter's tape
Step by step
- 1Scan the tool over a clear area to calibrate it.
- 2Approach from both directions and mark both edges.
- 3Check whether the center aligns with common framing spacing.
- 4Use a small finishing nail only in a safe, shallow test location.
- 5Choose a fastener rated for the object and wall construction.
Common mistakes
- Trusting one scan
- Using drywall anchors for heavy loads
- Drilling directly above outlets
When to call a professional
Structural work
Most of this is yours to do. Call someone licensed if any one of these is true — it's a judgement call, not a defeat.
- The wall, beam, or post might be carrying load.
- A crack has grown, or you can fit a coin into it.
- Floors slope, doors swing open on their own, or a wall bows.
- The repair needs a permit where you live.
General guidance only. Codes and conditions vary. When in doubt, stop and use a licensed professional.